The Before and After forum is organised by Stacy Fischer, it is a place where amateurs as well as seasoned photographers explain the wow and how about their photo and editing decision.You can read more here about how to take part.
This week I had this photo to edit. 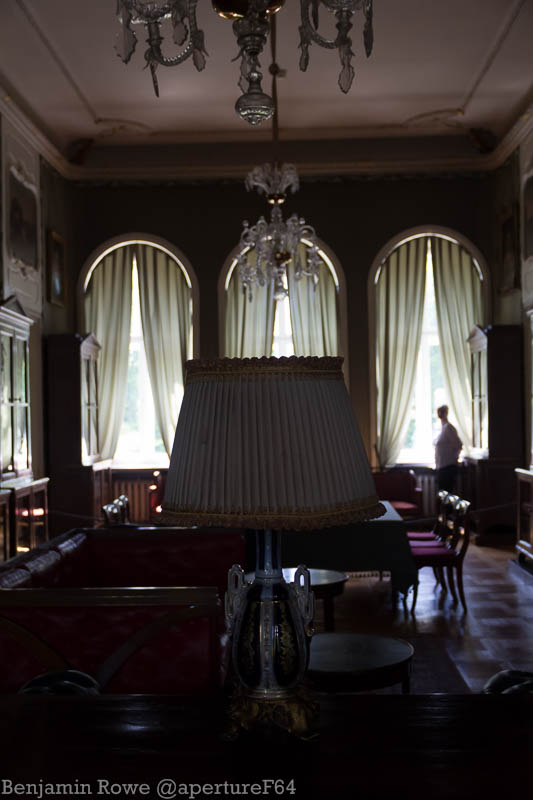 When taking this shot I felt that the lamp summed up the room quite well and since it was quite dark there I couldn’t have a small aperture to get the detail of the whole room in focus and I had already been told off by the lovely security guards for using my flash, whoops. I was shooting at ISO 800 so I could have bumped it up to get a smaller aperture but then the background would be sharper and the woman by the window would be harder to remove in post, so I stuck with f/4.0 and 1/100 of a sec. Due to the back lighting and the general darkness of the scene I bracketed my shots +2/-2 with the idea of using exposure fusion in photomatix to get a nice balanced image.
The output from Photomatix was quite nice and it lightened the whole image with the help of the over exposed frame. From here the work was going to have to be removing the guard in the window. Whenever I remove something I always like to replace it with something else in the frame. The clone tool and heal I find are good for small things or in places without a lot of detail. This lovely woman is in the window.
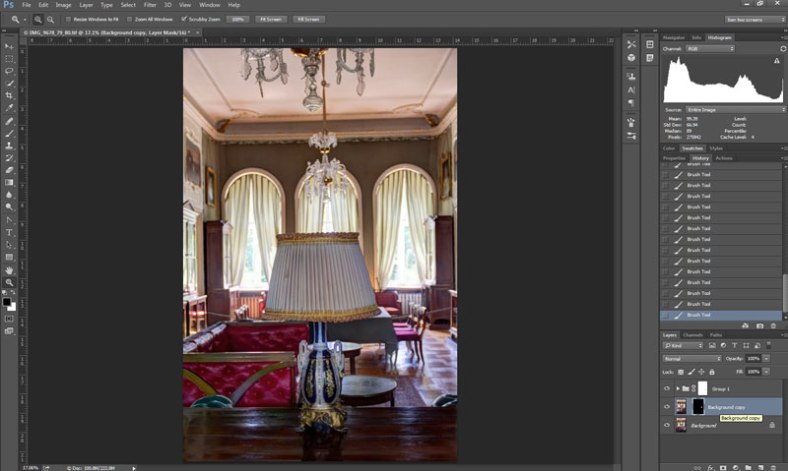
I opened the Fused image in Photoshop and duplicated the background layer, flipped it vertically, matched the drapes and cabinet. Applying a hide all mask, I used a brush to replace the woman with a window. By the time I get to the radiator there is a problem as things dont quite match up. There is some radiator to the left of the lady’s legs. Using a rectangular marque tool with a feather of 10px I selected a section of the radiator and copied it onto a new layer, and then duplicated this layer slowly tiling over the ladies legs. This also meant I was covering the chairs, I grouped the radiator layers and placed a reveal all layer mask and painted the chairs back.
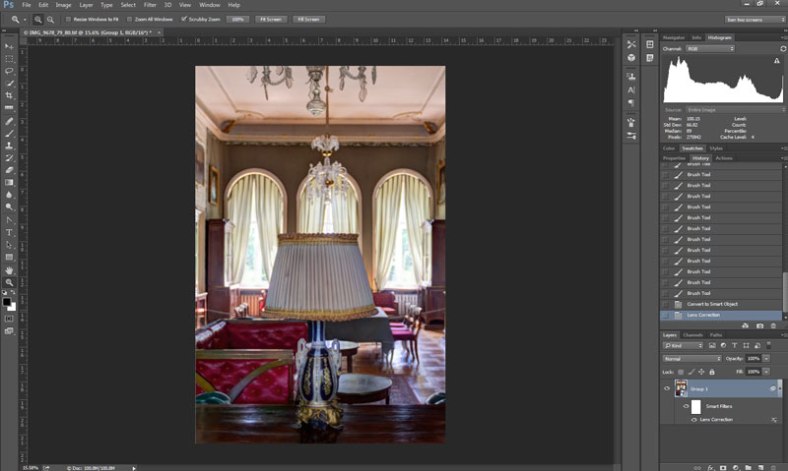
With the removal complete, I selected all the layers and placed them in a smart object, I applied a lens correction filter to straighten the image and then cropped.
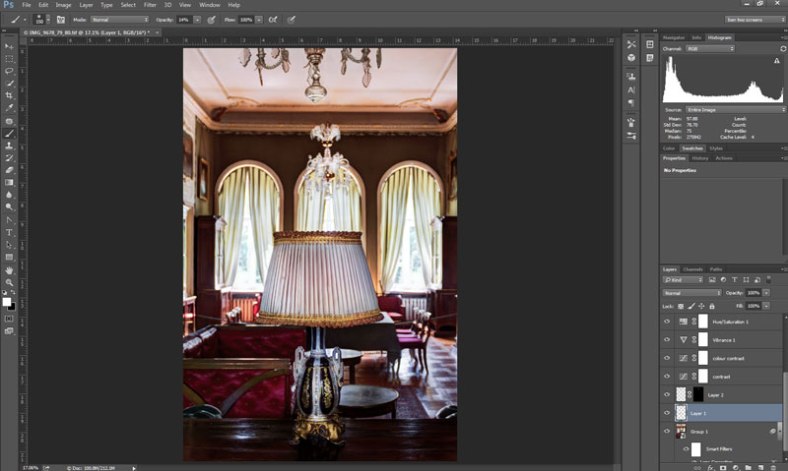
I started toning; applying a medium contrast curves adjustment layer and a second curves adjustment layer for color contrast, a vibrance adjustment layer to make the colours go pop and a hue and saturation adjustment layer to selectively raise the saturation in the reds and yellows.
I was finding the rope for the chandelier in the background distracting so I removed part of it using a mixture of the content aware and the clone tool as well as the selection tools and masking. I did all the adjustments on new layers above background smart object.
The lamp was looking a bit drab, so I added a curves adjustment to brighten the lamp and applied it via a layer mask
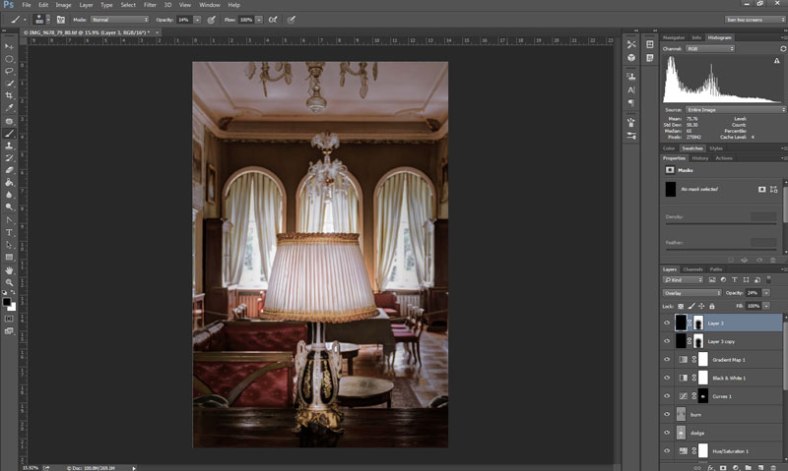
The tone of the image was ok but I really wanted something different, I added a black and white adjustment layer and then added a gradient map. For the gradient map I chose a yellow for the shadows and a blue/purple for the highlights. I set the blending of the map to Color and then lowered the opacity of the black and white layer until the colours looked good.
Next I added a slight vignette to the image using a black fill layer and a reveal all layer mask. Using a big brush soft brush at a low opacity I lightened the area around the lamp. I set the layer to multiply and then duplicated the layer and set the blending mode of the duplicated layer to overlay.
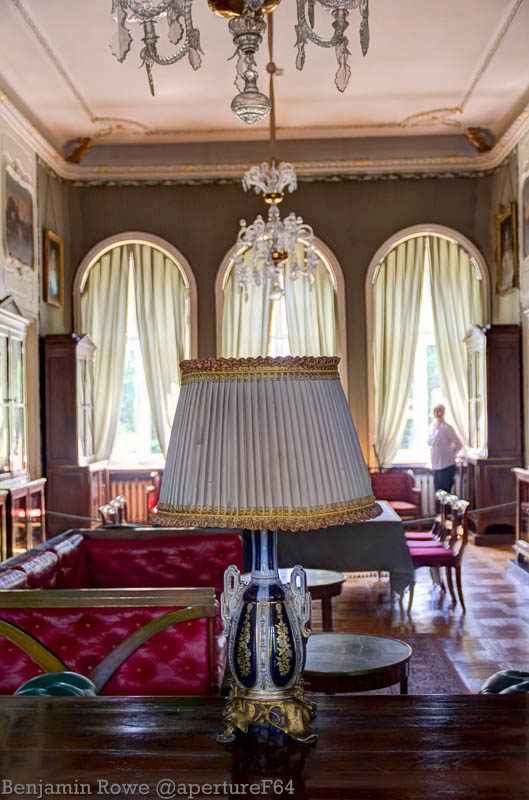
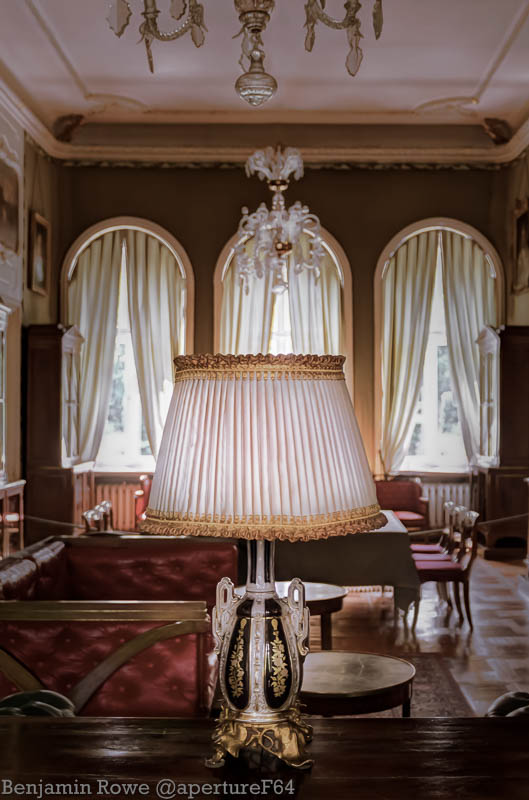
This was my final image and the image I sent to Stacy for the forum post. While proofreading and editing this post I noticed something wasn’t right with the final image.
The light and colours are all fine, there is good contrast in the whole scene, the windows don’t have distracting blown out highlights and there is no glaring colours. The lamp is the subject of the composition and the lighting shows this.
What I don’t like is as you look up you see the second chandelier which is not central with the lamp or the chandelier in the background, also with the ceiling being a lighter tone my eye is automatically drawn to it and not the lamp.
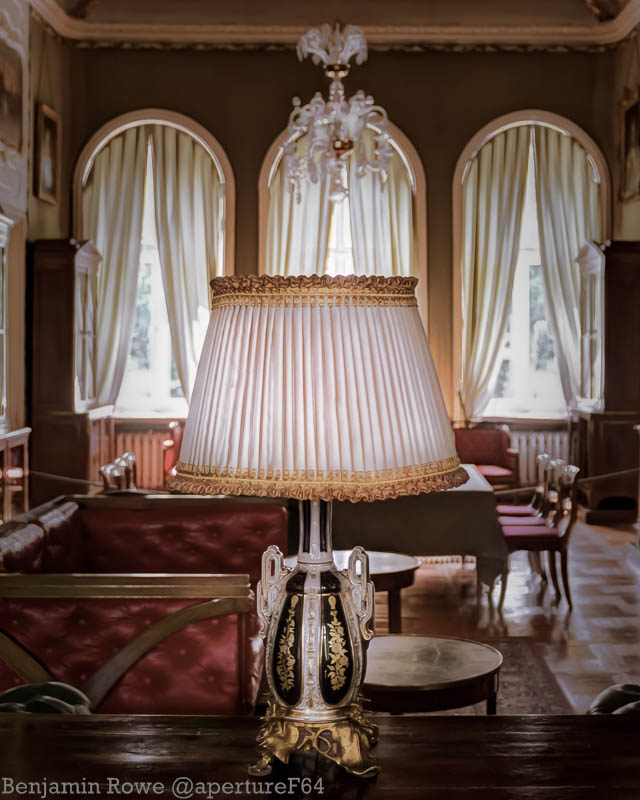
For the new final image I cropped the top off creating a 10×8 format image.
What do you think of the process? Would you have done anything differently? let me know in the comment box below or if you like just say hi.
If you wish to get notifications when I post on my blog, you can follow me on Twitter@apertureF64, on Facebook.com/aperturesixtyfour or alternatively be emailed by subscribing below. All images are the Copyright of Benjamin Rowe , ALL RIGHTS Reserved unless credited to another photographer. For more information please read my Copyright Statement

Very extensive tutorial. Thanks! I only use Lightroom and wonder if I could duplicate everything you did here. Aren’t security guards wonderful? Using a flash? How dare you? And how many people did you annoy with your flash?
Hi Emilio, in lightroom you wouldn’t be able to remove the sercurity card as it was quite busy area, possibly the toning you could do in light room but I think it would be difficult. I use lightroom 90% of the time and I am not sure I would get the same effect.
I dobt think I annoyed anybody but the sercurity there were only a handful of visitors there. I understand why they dont want me to use flash as it is harmful to the paints and fabrics.
I didn’t realize a flash was harmful at all. I apologize to all the security guards in my past I might have mentally cursed!
In modern churches I have no problem using it but in older ones I bump the iso. Here I was trying my luck after I was told my tripod was not allowed in the grounds or garden of the palace. This I couldn’t understand.
Very impressive example of post-processing. Thanks for giving us all the details. There were several steps that were new to me so I definitely learned something form your post. Which is one of the goals Stacy had in setting up this forum. Excellent job.
Hi Robin, Glad you learnt something from the post.
Really an impressive result Ben, love the light and details you recovered from the lamp. Definitely, it was worth the hard work editing. Congrats!
Thanks Jaime, it was worth the hard work.
Wow, Ben, how long did this TAKE you??? I am not well-versed in Photoshop (I do the bulk of my editing in Lightroom and move into Photoshop only if I need to clone or heal). Obviously, it is a fantastic program when editing requires the kinds of adjustments you made with this image. Thank you for discussing your steps (I know recreating them takes a great deal of time) as they are so very helpful to those who wish to learn. I have to admit, I’m going to need to revisit your post many times to digest everything you’ve presented (I really need to learn about adjustment layers – you and Robin both use them!). Fantastic process and now I can really appreciate how incredible the final image really is! Thanks so much for being part of the ABFriday forum!
Hi Stacy, Photoshop is where I first learnt how to edit and have only recently moved to Lightroom. Adjustment layers when mixed and blended together can create some interesting effects. The editing took about an hour but I went back twice after I finished to look at the image with fresh eyes.
I can’t wait for next week.